I recently bought a really cheap Chinese laser cutter from China. I will post more about that process later.
First I want to document the process for cutting, engraving and a combined “mode” for cutting and engraving. Before I forget it myself.
Be prepared. This will not be at all logical. Or efficient.
As several people have pointed out, the standard software that comes with the machines is a complete pain in the butt. It’s protected by a dongle – though you wouldn’t even want to rip it. It won’t run on a virtual machine. Etc.
Illustrator vector cutting via CorelDRAW and Moshidraw
Let’s start “simple”. Just cutting a vector graphic from a decent graphics suite or CAD-package is reasonably simple:
– In Illustrator, draw your shapes and save the file as an .ai without compression
– Open the .ai in Corel and export it as a .plt (pay attention to the “Curve resolution” parameter in the “Advanced” tab.
– Start Moshidraw and create a new file
– Click “Output (O) > AllPage”. The software seems to crash. Be patient.
– In the top right corner of the new window, click on the checkbox right to the “PLT File” button. This button will now be available (!?!)
– Select the PLT file you just generated
– Adjust parameters and click “Output”
So it’ll take you 3 programs (on 3 different systems, for me) to finally slice some stuff, but at least you’ll be able to design in Illustrator.
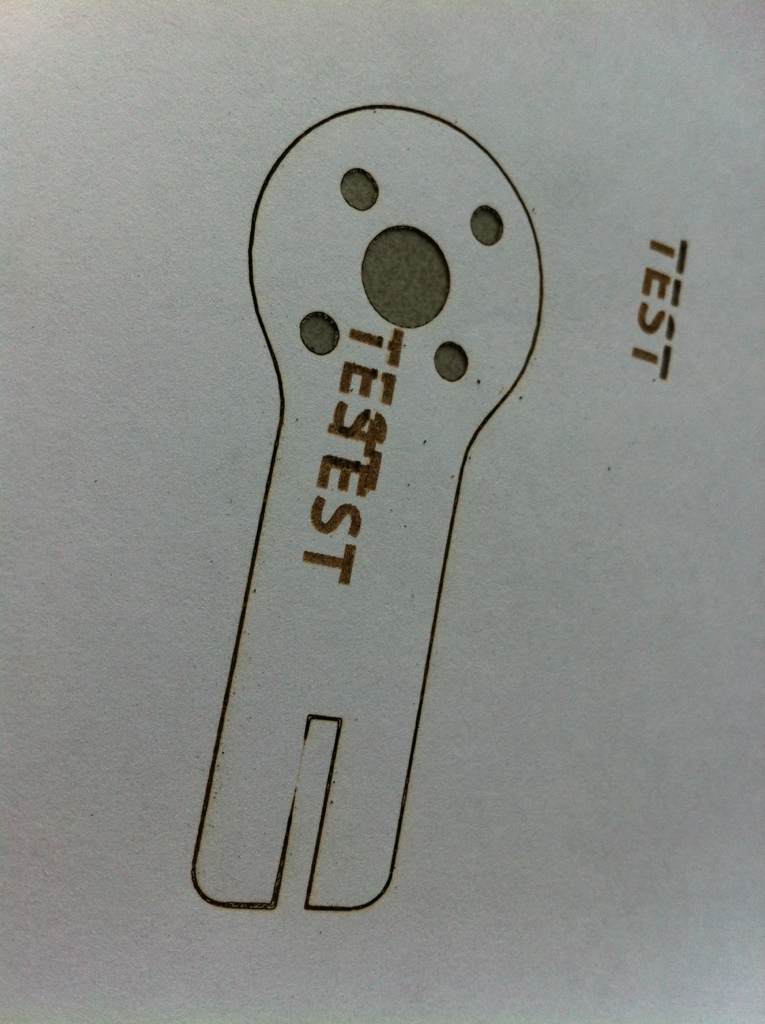
Combined vector cutting and vector engraving from Illustrator
Although I won’t be using it much, I wanted to be able to engrave and cut a material at the same time. This – it seems – is impossible. The closest I could get is making two separate files and first engrave, then cut. Align the two files in Moshidraw’s main window, but do the cutting directly in the production window. So here goes:
– Design your piece in Illustrator, following the steps above. Make sure that the stuff you want to engrave has a solid black fill.
– Open the file in Corel and export two different .plt files: one for cutting, one for engraving. You can select the items and use the “Selected only”-checkbox in the export dialog.
– Open Moshidraw, create a new file of at least the size of your workpiece.
– Select the “Image (I) > Image”-menu option. Click anywhere in the workspace. You’ll be prompted for a file. Select the .plt file you created for cutting.
– Align the image neatly in the top left corner. Import the other .plt (for engraving) and align as you designed it. Yes, it might be a bit off, but you won’t notice half a mm shift with engraving.
– Delete the cutting .plt image. We’ll cut it in the “Output window”. We just needed it for alignment. Moshidraw is a b*tch about image order (back, front) so play around with that for a while.
– Select “Output (O) > AllPage”. Adjust parameters as needed. Engrave.
– After the engraving is done, cut the .plt you created for cutting as described earlier (directly in the Output window).
The reason for this weird workflow? Moshidraw rasterizes your .plt when you import it. For engraving, that’s fine. For cutting, the lines will be mangled. So you have to cut directly in the Output window, which preserves the vectors from the .plt. Thanks to this guy for working that out.
Frustrated? Get an Epilog, which are about 15x more expensive, but have a better (but not perfect) workflow. Don’t ask me how I figured this out…
For those few times I’ll need to engrave and cut, I have a workaround. I hope this will be useful for some lost soul sometimes.
Update 16-4-2018: I came across this software that might be interesting for people running the normal hardware: http://www.scorchworks.com/K40whisperer/k40whisperer.html
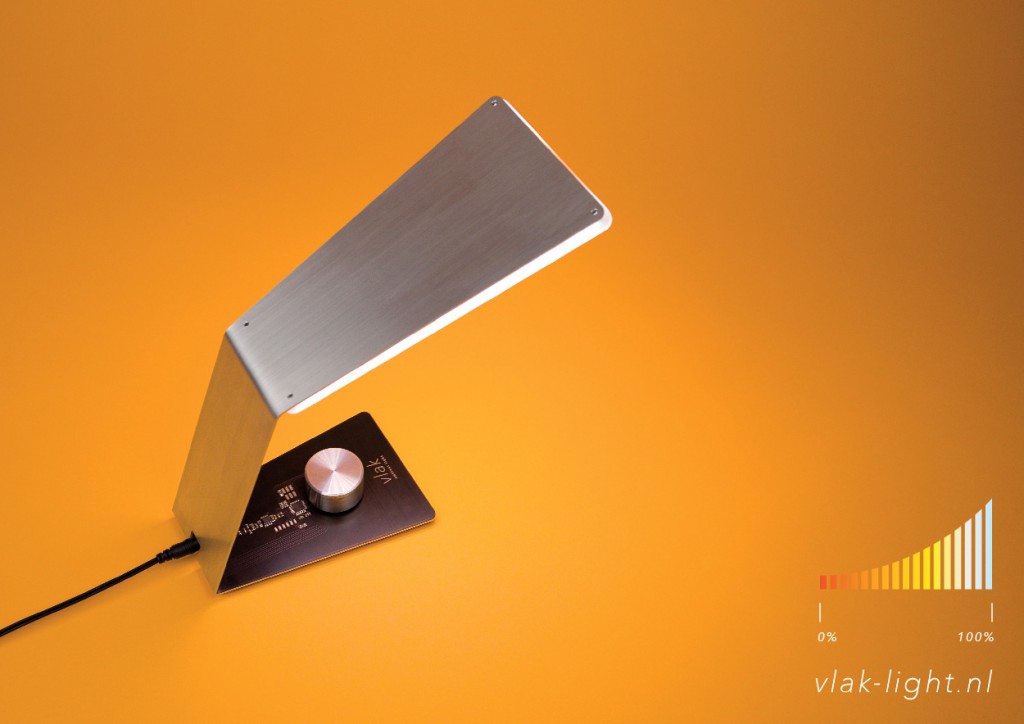
Like this? You might be interested in my latest project. It's a desk light made completely from a single sheet of printed circuit board. Check it out:
This really worked well. Thank you for posting the details. How did you determine the steps to make it work? Especially running the greyed out PLT option was something I would have never thought to try.
Nice work my friend!
You’re welcome. I don’t specifically recall how I found out. I guess it involved trying every button in sight and seeing what would happen… I did have a clue about PLT being the way to make this work through this article: http://alastair.d-silva.org/working-cheap-chinese-laser-engravers
I remember I tried to get Illustrator to print out PLT files through “mis-using” an old HP printer driver… And some other completely different ways to get from A to B. I should have documented these as well…
Thanks for your comment… I mistook it for spam earlier (I get so much…)