I’m also on Twitter and that stream gets updated a lot more often than this blog. Feel free to send me a message about anything you’d like to discuss.
LOL okay so b/c of Elno, find me at @krekr.bluesky.social and @krekr.ioc.exchange (Mastodon)
I’m also on Twitter and that stream gets updated a lot more often than this blog. Feel free to send me a message about anything you’d like to discuss.
LOL okay so b/c of Elno, find me at @krekr.bluesky.social and @krekr.ioc.exchange (Mastodon)
@Juerd posted a really detailed breakdown of several issues with the WHY2025 badge. Since I cannot post to the revspace forum (“An error occurred: Something has gone wrong. Perhaps this topic was closed or deleted while you were looking at it?”), I will document and update my findings here.
Original post message
Hi all, I just joined this forum specifically for this topic. I’m printing spacers and through those channels was made aware of these issues.
When I first saw the design, I was both in awe of its complexity and assuming the 18650 that were going to be distributed would come with protection circuitry. Safety obviously wasn’t neglected – there are several safeguards already built in.
Remember: Anything that can go wrong, will eventually go wrong. Especially during an event, with thousands of products distributed in harsh mechanical conditions. These cells, even with protection, are able to provide multiple Amperes of current, some even in the double digits.
I can already hear the sysadmin “ha ha people are stupid”-type banter if something happens. This is not acceptable. Attendees are people and people should be able to trust that anything they buy or are given doesn’t pose a hazard to them or their belongings. This is called compliance.
From a legal perspective: Even if the badge is given away and isn’t CE-marked, it is a product that is circulated (“in het economisch verkeer brengen” is the Dutch legalese) and therefore should follow best practices for product safety.
This means: always plan for first-order failures and mitigate risks. The main issues that stand out with this design:
I’m proposing a minimally designed cover that covers the battery holders and adjacent electronics. I will work on this today and share the design. I know there already is a (beautifully designed) full enclosure by @dynom, but these take a lot more time to print.
This cover will function as an extra layer of protection on top of the epoxy.
For those wondering: I’m an industrial designer with 20yrs of experience. I have no formal training as an electrical engineer but have been working with electronics since I was about 6. I spearhead product compliance efforts at two medium sized companies. Some time ago I designed a device powered very much like the Konsool (it even had the same battery holders) that was first also supposed to use unprotected cells in parallel. During iterative prototyping and user testing, I quickly found out several of the same issues this badge has. Yes, some traces went up in flames and “someone” burnt their hand 🙂
I’m not a lawyer and/or a trained electrical engineer. Also: This post is also not a ‘flame’ on the design or designers. I’m just trying to help. Thanks for making an awesome badge for this awesome event.

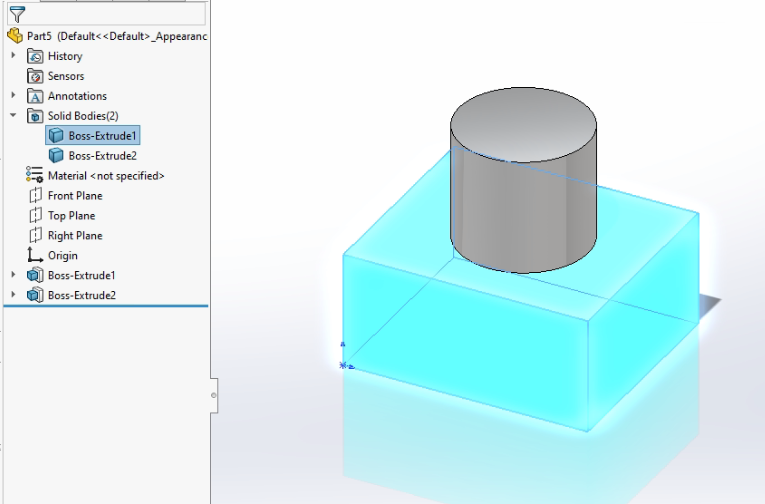
Being able to create multiple bodies in a single SW file can hugely speed up design, because not every ‘part’ deserves its own *.sldprt. However, you’ll usually want to export the bodies as separate STL’s for printing. Here’s a simple script that works similar to the normal macro but adds a random number after the file name so you can do the following trick:
This way, you don’t have to manually save the STL’s or rename the exports. Download is below the image.
Since the creator’s site is unavailable and has been for some time, I’m hosting a mirror of a binary of the handy HexUploader. It was available through a third party. This is a small Mac app that allows uploading .hex files to a ATMega chip implementing the STK500 bootloader, e.g. Arduino’s. I used it to flash GRBL.
Since lots of people come looking for the Arduino Uno technical drawing, I decided to make a drawing with the main dimensions of the Wemos ESP32 as well. It’s probably the same as the D1 and other Lolin / Wemos modules. It’s based off the CAD-model by Ben Cooney on GrabCAD.

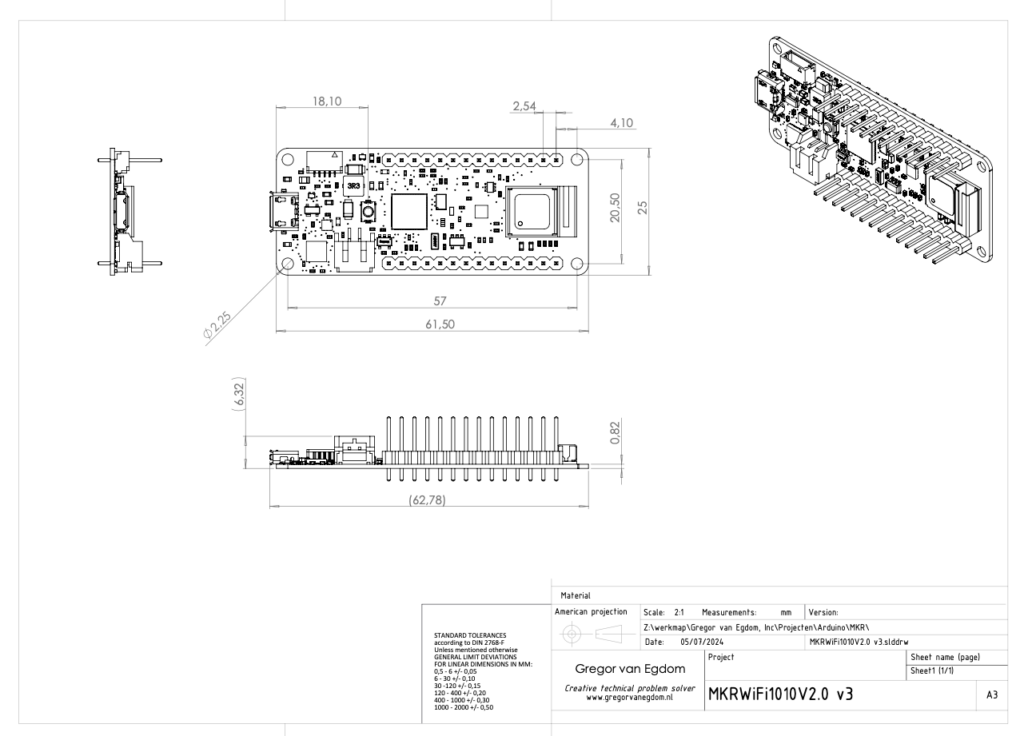
Since lots of people come looking for the Arduino Uno technical drawing, I decided to make a drawing with the main dimensions of the Arduino MKR1000 as well. It’s based off the CAD-model by Johannes Funk on GrabCAD.
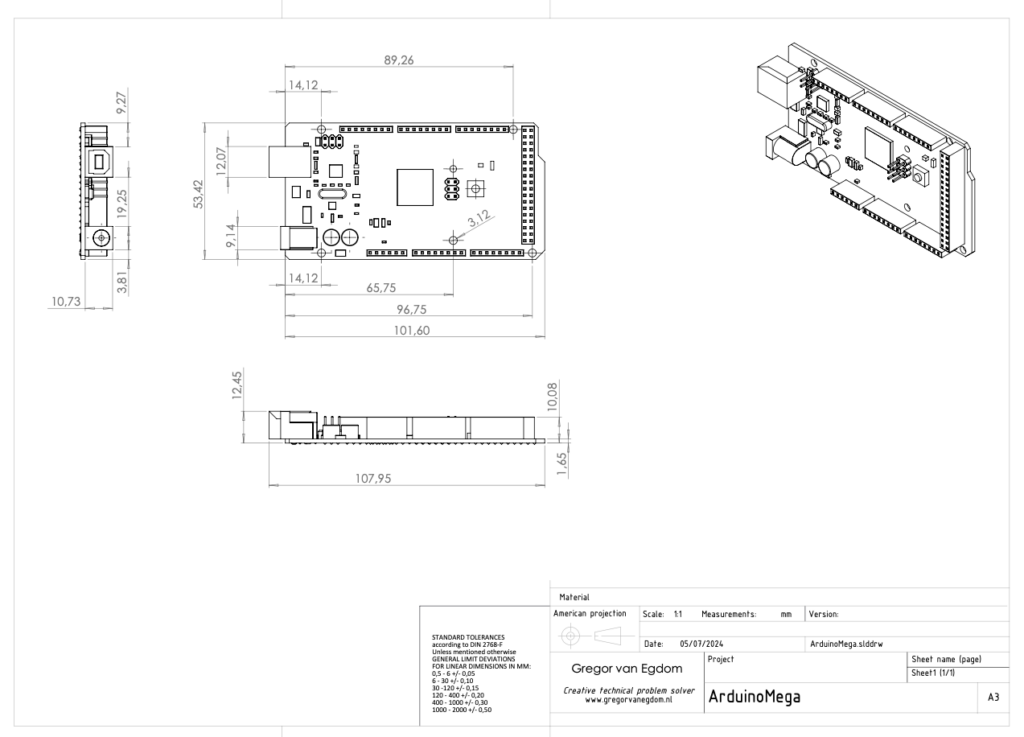
Since lots of people come looking for the Arduino Uno technical drawing, I decided to make a drawing with the main dimensions of the Arduino Mega as well. It’s based off the CAD-model by Augustine Aelevanthara on GrabCAD.
For an electro-mechanical designer, motors are a key component. Being able to move stuff in the physical world at high speed and precision makes modern products feasible. For a long time brushed, DC Motors were the only viable option, sometimes coupled to a gearbox and or encoder. Lately, more and more products began using brushless motors which also means cheaply available overstock.
You can now buy a powerful and fast brushless motor, including controller and and encoder for precision feedback for about €5 including shipping(!).
I just had to try these out. Attached is the code for open-loop control. I might implement closed-loop some time in the future as well, so this becomes even more powerful and precise.
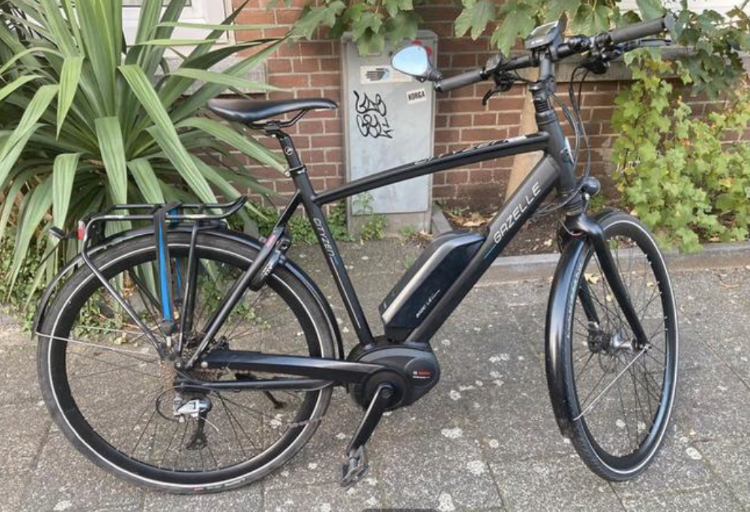
30th of April, there was a break-in at our house and several bikes were stolen; one of mine and the others from the neighbors.
Frame number: GZ60560592
VIN: XRGA0H57A6A000281
If this bike is offered for sale to you, please get in touch with me: https://www.krekr.nl/contact/
Op 30 april is er bij ons ingebroken en zijn er meerdere fietsen gestolen; één van mij en enkele van buren. Indien deze fiets u te koop wordt aangeboden, neem dan contact met mij op: https://www.krekr.nl/contact/
Dutch manufacturer Itho Daalderop seems to have an electronics reliability problem. I’ve now repaired 4 fans from the brand.
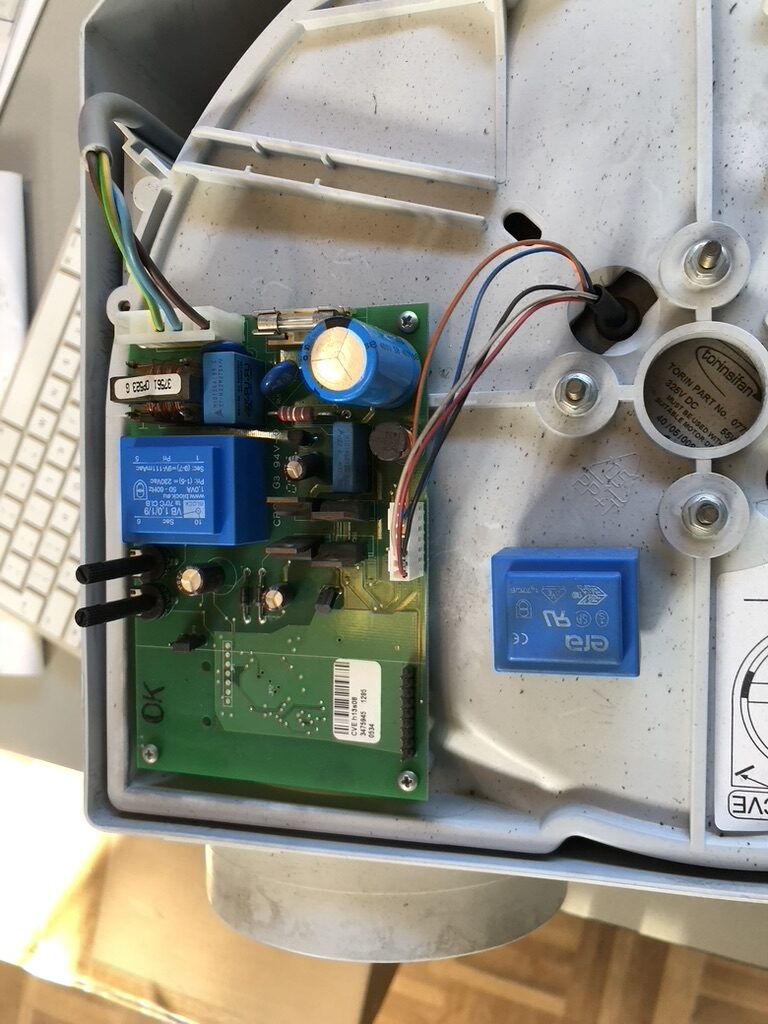
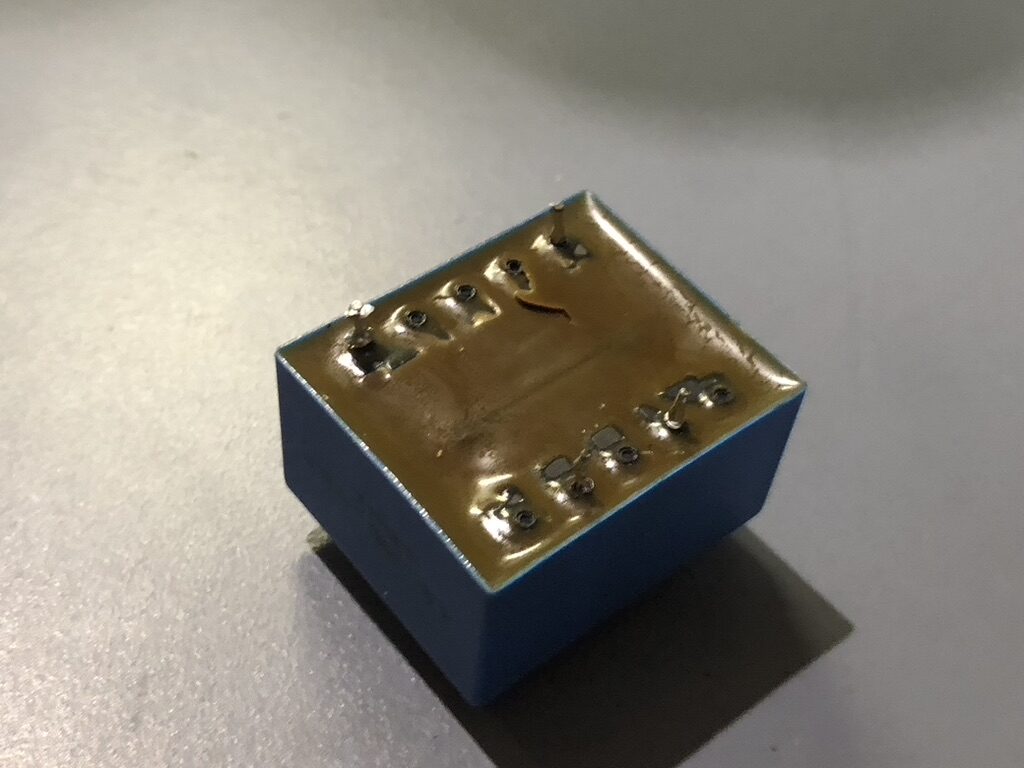
One common problem seems to be that the transformer on the PCB of the CVE “Centrale ventilatie eenheid” breaks. It is a very common part that can be had for about €5, e.g. at Reichelt.
The epoxy of the potting cracks. Maybe it gets too hot, maybe unfiltered spikes on the mains net cause this. Of course, these units run 24/7, but I’d advise anyone to add extra precautionary devices on any Itho appliances they might have.
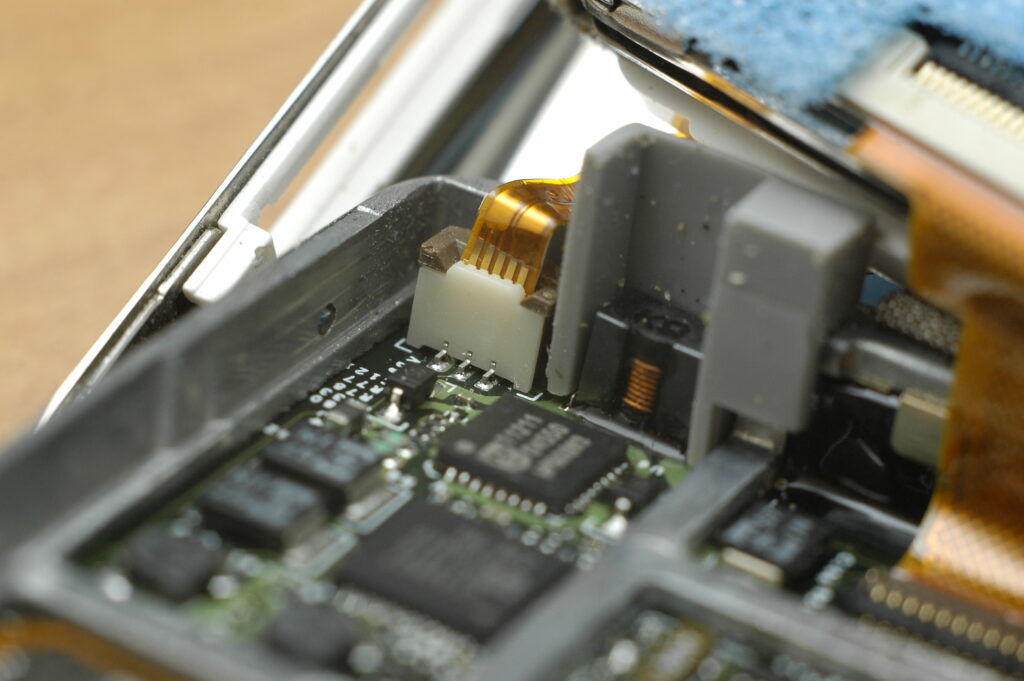
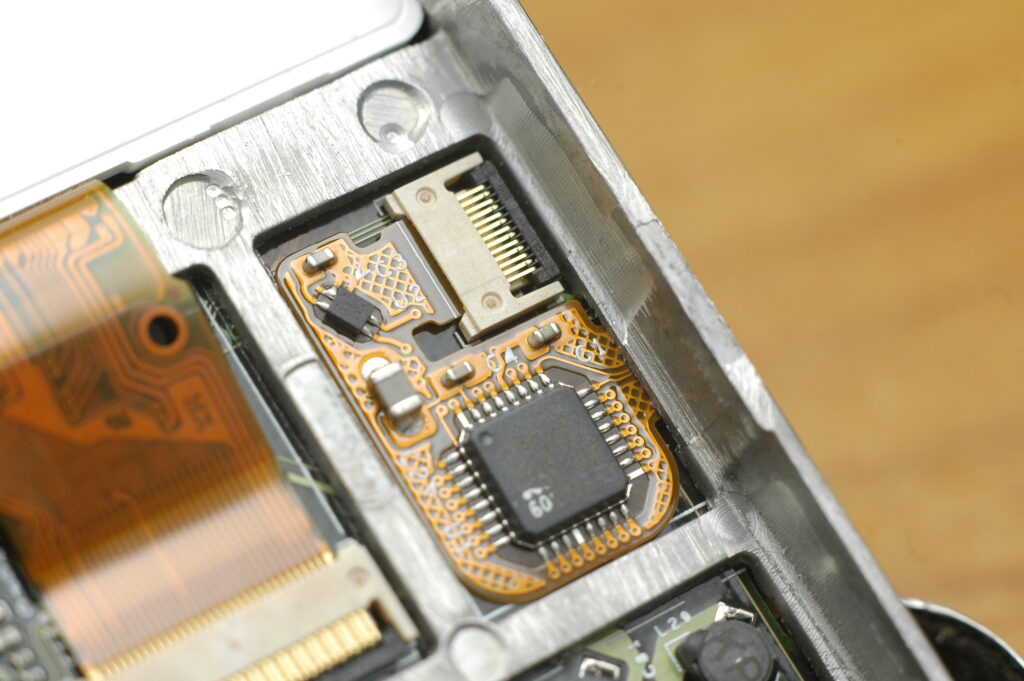
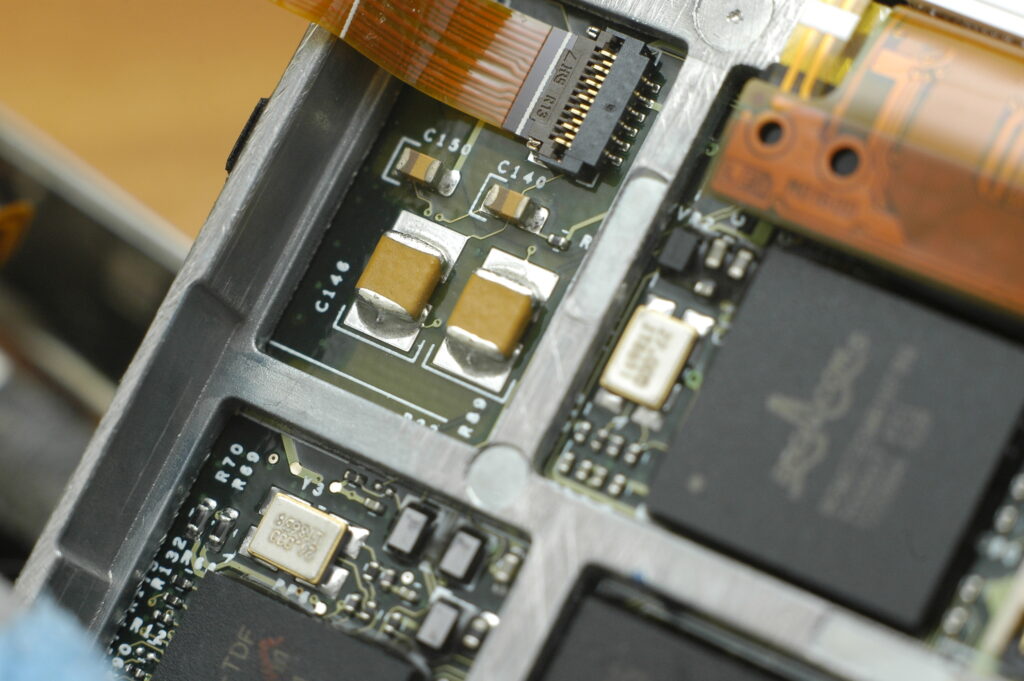
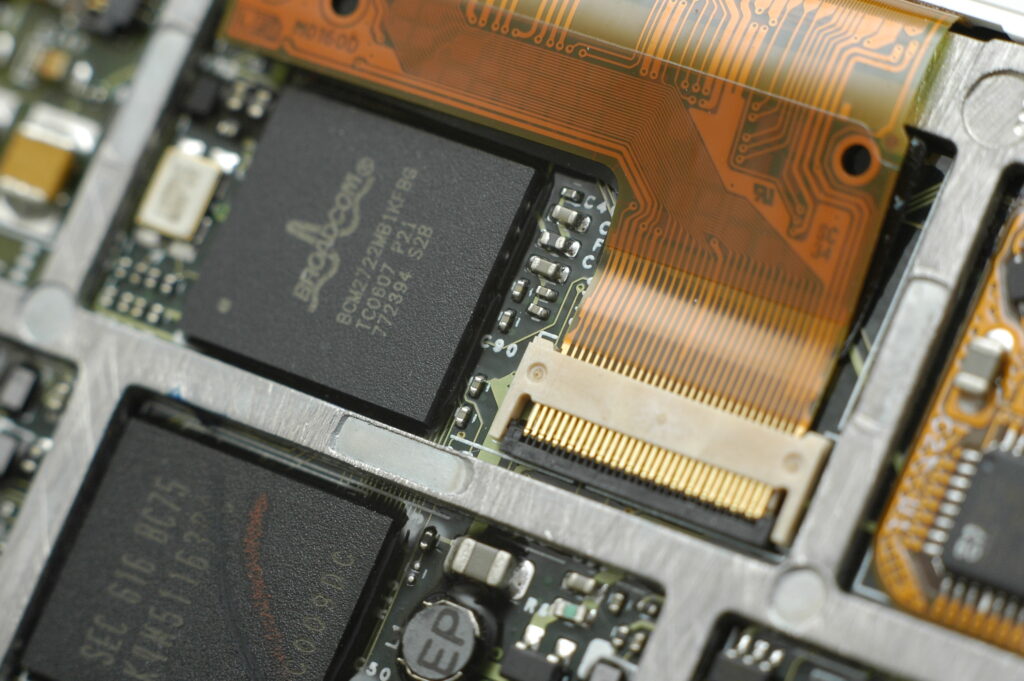
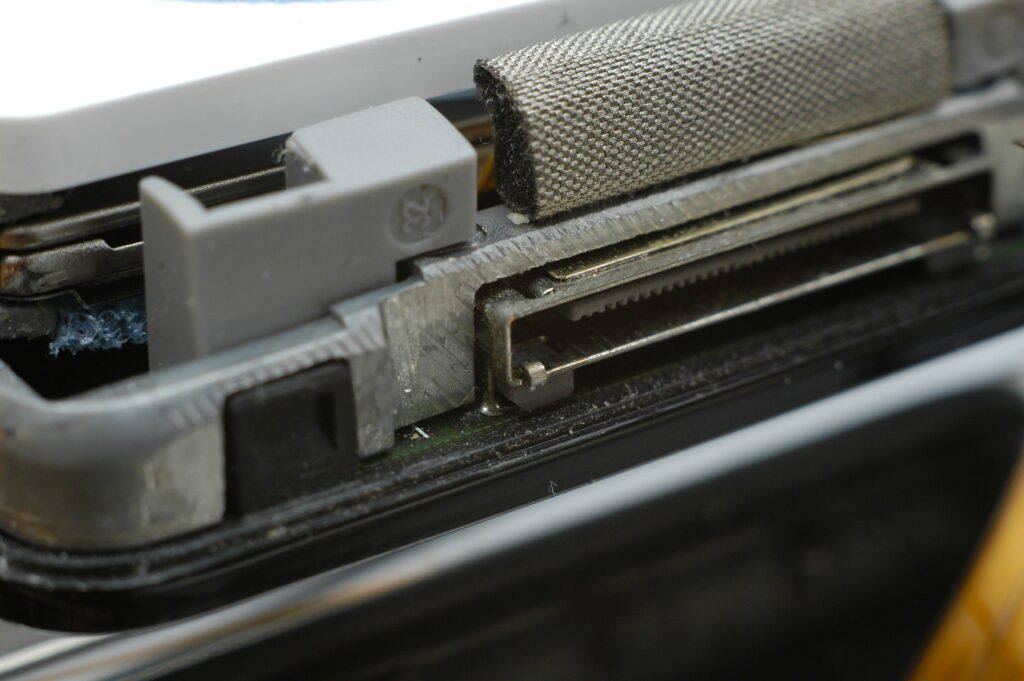
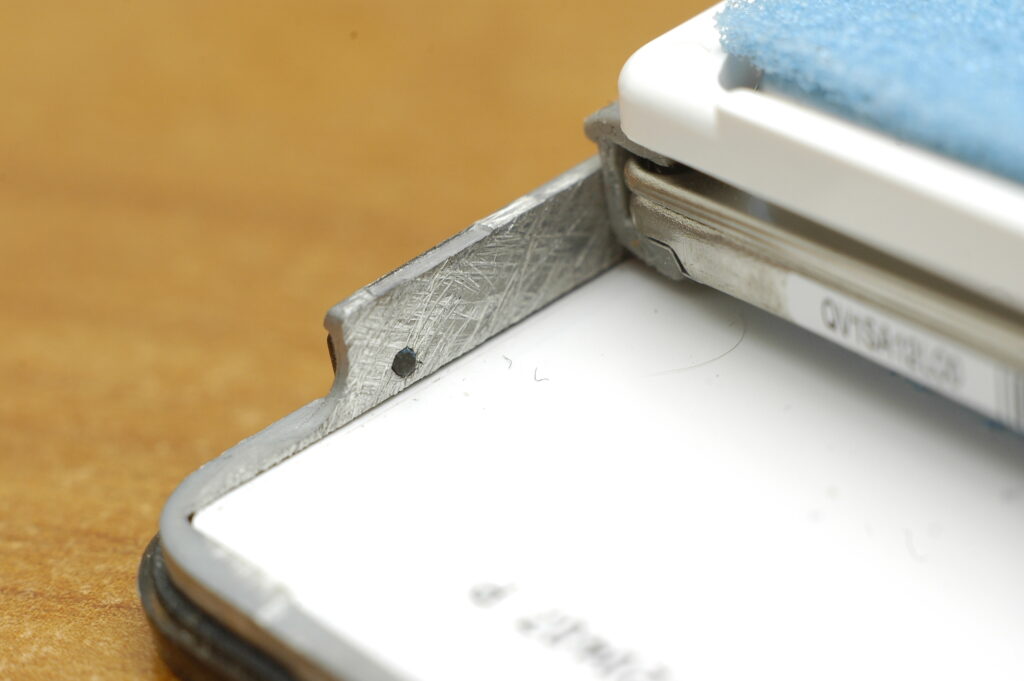
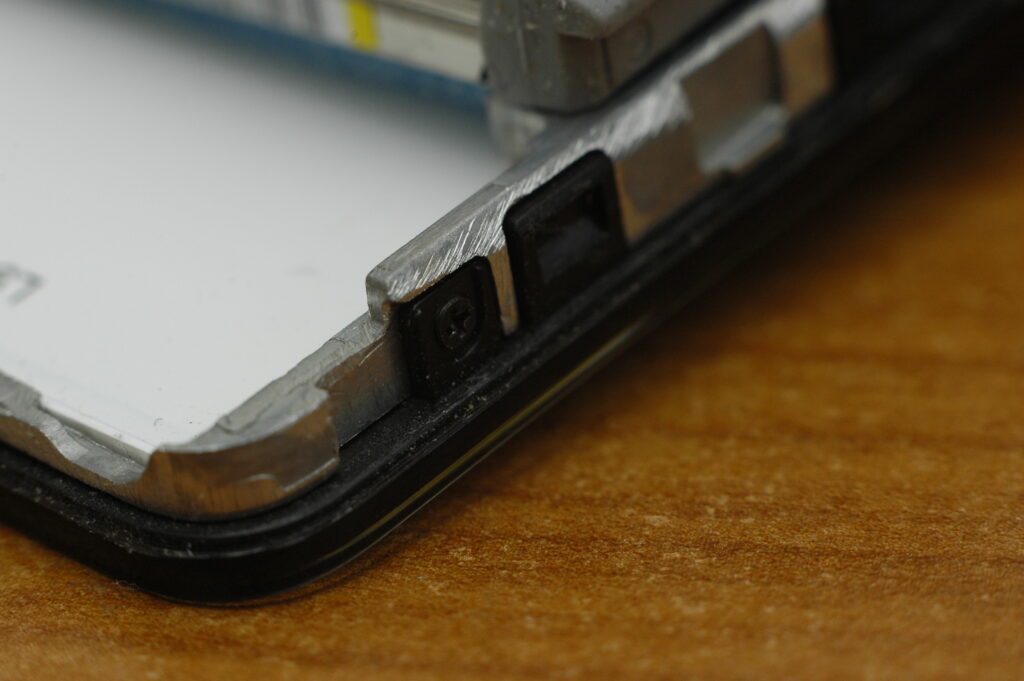
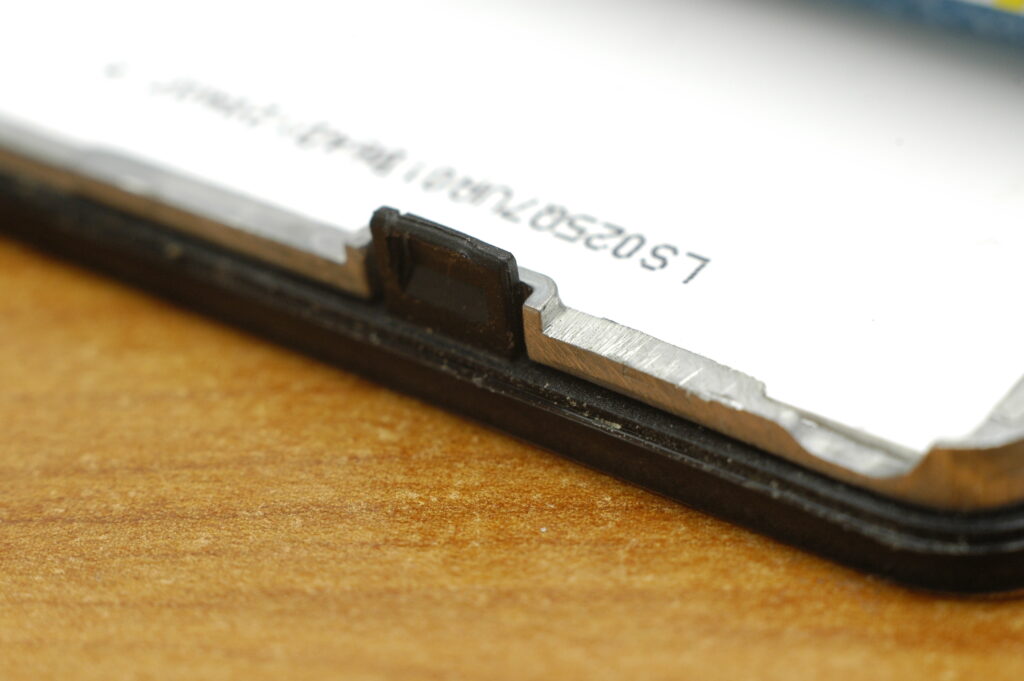
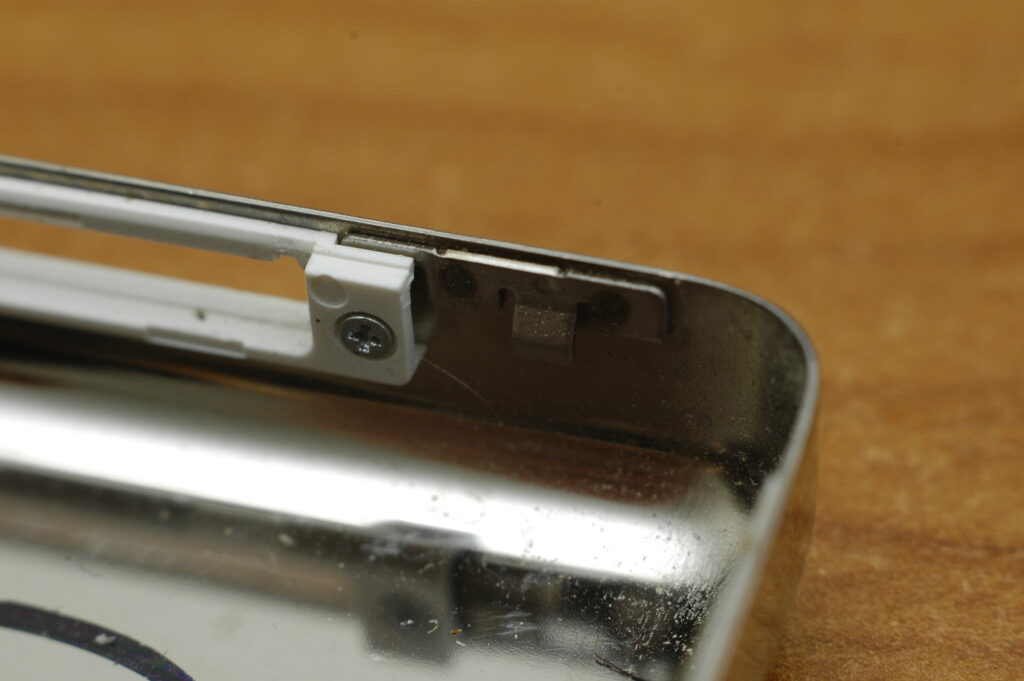
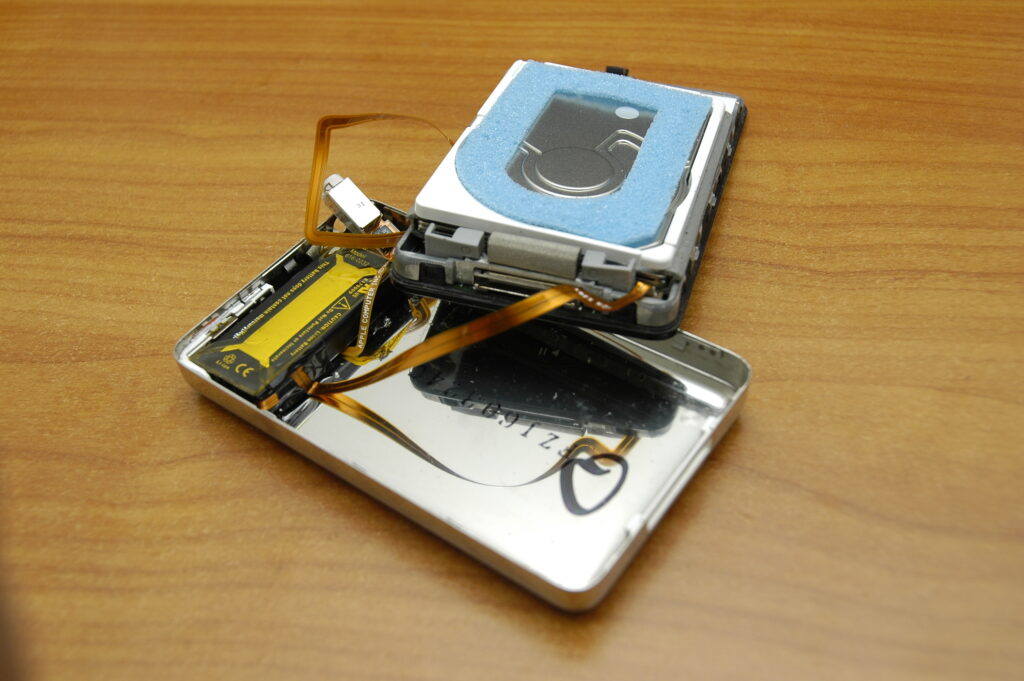
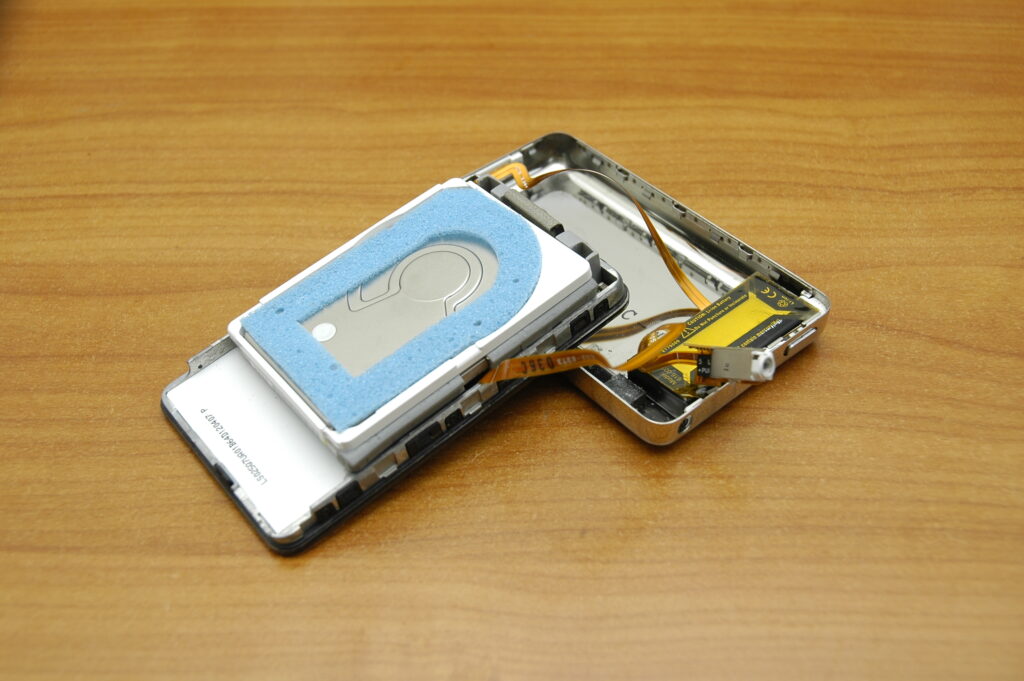
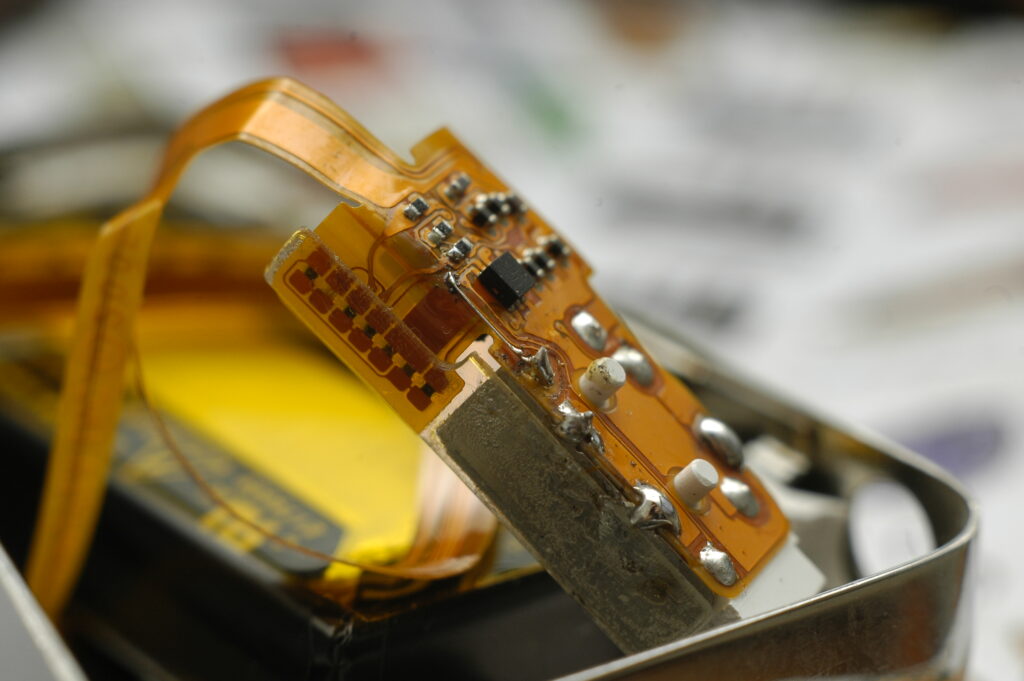
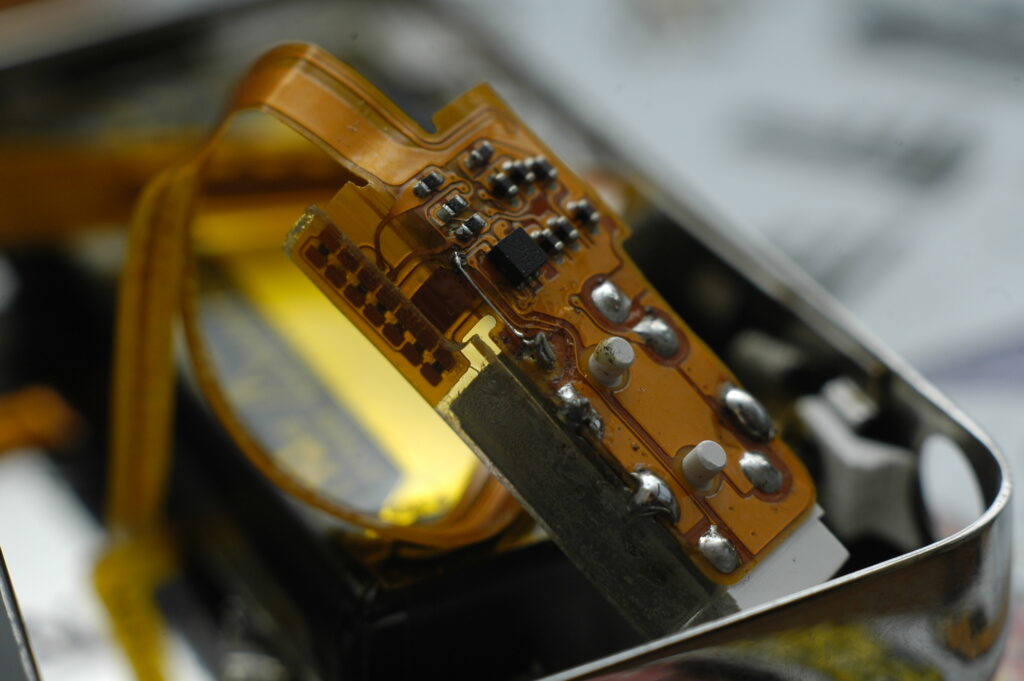
Starting today, I’ll be posting teardowns of consumer electronics every month or so. These photos have been taken a long time ago, but are still relevant because most of the manufacturing technologies haven’t changed.
Resistive welds can clearly be seen, as well as an injection moulded Zamack frame. Lots of EMI gaskets and flexible circuit boards too. And a repair I made circa 2009.